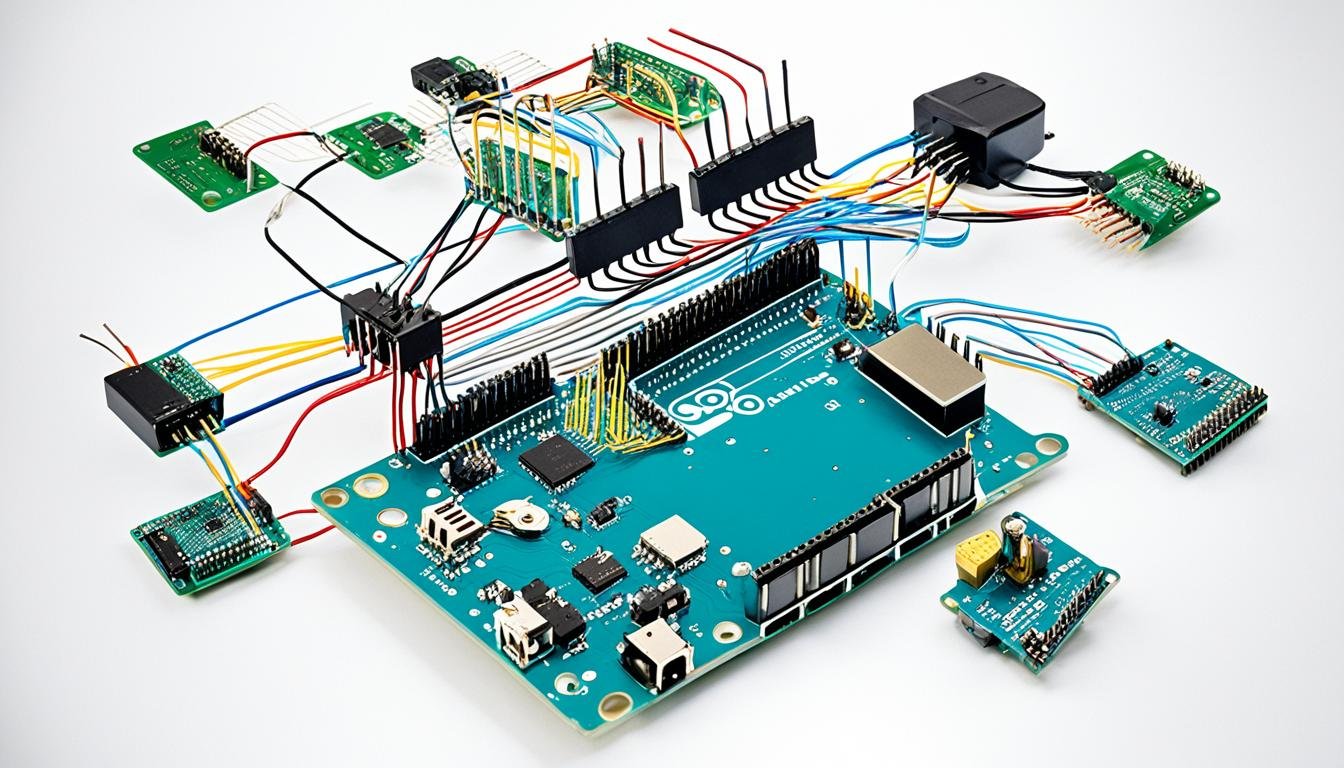
By 2025, over 75 billion IoT devices will connect worldwide. Arduino leads this revolution with its open-source hardware and user-friendly interface. It allows anyone to explore IoT projects easily.
Arduino is perfect for smart home automation, sensor networks, and wearable technology. It combines microcontrollers, wireless communication, and various sensors and actuators. This creates powerful systems that interact with the world and send data online.
This guide shows you how to build your first Arduino IoT project. You’ll learn to set up your Arduino board and software environment. We’ll also cover connecting sensors and using cloud platforms.
Get your DIY electronics kit ready. Let’s explore Arduino and the Internet of Things!
Key Takeaways
- Arduino is a powerful open-source platform for building IoT projects
- IoT devices are expected to reach 75 billion by 2025
- Arduino supports a wide range of sensors and actuators for diverse applications
- This guide covers the complete process of building an Arduino IoT project
- IoT projects can be applied to smart home automation, environmental monitoring, and wearable technology
Introduction to Arduino and IoT
The Internet of Things (IoT) has revolutionized technology. It creates smart, connected devices that interact with their surroundings. Arduino, an open-source platform, is key to many IoT projects.
Arduino has become popular among hobbyists, students, and professionals. It offers endless possibilities for creating innovative, connected devices.
What is Arduino?
Arduino is an open-source platform for interactive electronic projects. It includes a programmable microcontroller board and a development environment for coding.
The platform is user-friendly, making it great for beginners. It also offers advanced features for experienced users. Arduino’s extensive code library and sensor compatibility make it versatile for IoT projects.
What is IoT?
IoT is a network of smart devices that collect and share data online. These devices range from simple sensors to complex machines. They work together to create intelligent systems.
IoT can revolutionize healthcare, agriculture, transportation, and home automation. It provides real-time data to improve efficiency, safety, and convenience.
Benefits of combining Arduino and IoT
Combining Arduino with IoT unlocks endless possibilities for smart, connected devices. Here are some key benefits:
- Rapid prototyping: Arduino’s platform and code library allow quick development of IoT projects.
- Flexibility: Arduino works with various sensors and modules, enabling custom IoT solutions.
- Cost-effectiveness: As an open-source platform, Arduino offers affordable entry into IoT.
- Scalability: Arduino-based projects can grow from prototypes to full production systems.
- Community support: Arduino’s large community shares knowledge, resources, and inspiration for IoT projects.
Arduino and IoT enable creation of smart devices that sense, process, and transmit data. These devices allow remote monitoring, control, and automation of various processes.
From smart homes to industrial networks, the potential is limitless. Developers can create innovative solutions limited only by their imagination.
Getting Started with Arduino Hardware
Arduino IoT projects require specific hardware components. Let’s explore the essential elements needed for your projects.
Arduino Boards and Microcontrollers
The Arduino board is crucial for every project. The Arduino Uno is great for beginners, offering a user-friendly platform.
It’s powered by the ATmega328P microcontroller, providing a strong base for your creations. The Arduino Nano uses the same chip but is smaller.
Essential Components for IoT Projects
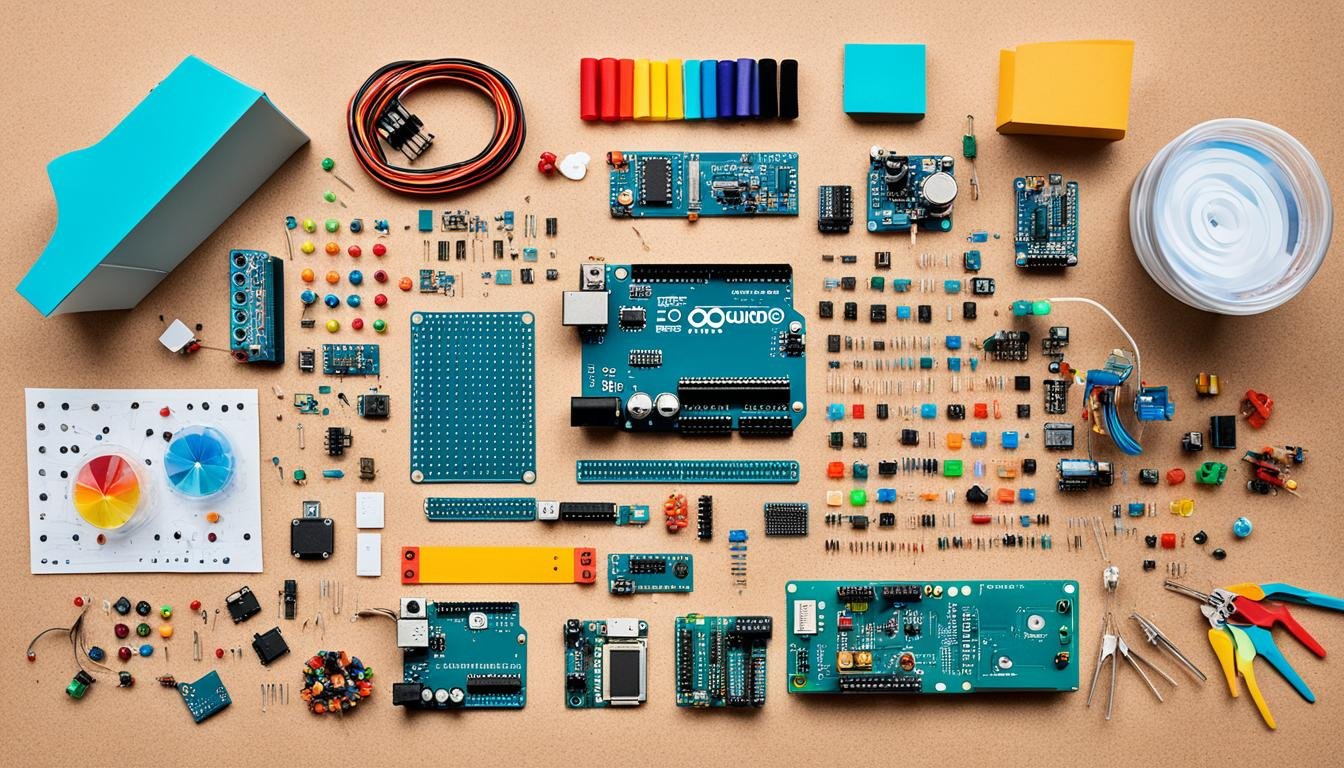
Various components bring Arduino IoT projects to life. A breadboard is key for prototyping, allowing easy connection of components.
Jumper wires connect the Arduino board, breadboard, and various sensors and actuators. Common components include LEDs, temperature sensors, and motion sensors.
- LEDs: Used for visual indicators and output
- Temperature sensors: Measure ambient temperature
- Humidity sensors: Detect moisture levels in the environment
- Motion sensors: Detect movement or presence
- Actuators: Control physical actions, such as motors or relays
Connecting Sensors and Actuators
Connecting sensors and actuators to your Arduino board is simple. Arduino Uno and Nano offer digital and analog pins for inputs or outputs.
When connecting components, pay attention to the pin layout and ensure proper wiring to avoid damaging your Arduino or the connected devices.
Here’s a table summarizing the pin types and their typical uses:
| Pin Type | Description | Common Uses |
|---|---|---|
| Digital | Can read or write digital signals (HIGH or LOW) | Connecting buttons, switches, LEDs, and digital sensors |
| Analog | Can read analog voltages and convert them to digital values | Connecting analog sensors, such as temperature or light sensors |
| PWM | Provides pulse-width modulation for analog-like output | Controlling LED brightness, motor speed, or servo position |
Understanding each pin type helps you interface Arduino with various sensors and actuators. This knowledge enables you to create diverse IoT projects.
Setting Up the Arduino Software Environment
To start your Arduino IoT project, you need to set up the software environment. This means installing the Arduino IDE on your computer. The IDE lets you write, compile, and upload code to your Arduino board.
Installing the Arduino IDE
The Arduino IDE is free to download from the official Arduino website. It works on Windows, macOS, and Linux. Here’s how to install it:
- Visit the Arduino website and navigate to the software download page.
- Select your operating system and download the appropriate version of the Arduino IDE.
- Run the installer and follow the on-screen instructions to complete the installation process.
After installation, launch the Arduino IDE to explore its features. The IDE includes a code editor, compiler, and serial monitor. These tools help you develop and debug Arduino sketches.
Configuring the IDE for Your Arduino Board
Before programming, set up the IDE to work with your Arduino board. Follow these steps:
- Connect your Arduino board to your computer using a USB cable.
- Open the Arduino IDE and navigate to the “Tools” menu.
- Select the appropriate board type from the “Board” submenu. Make sure to choose the board that matches your Arduino model.
- Choose the correct port from the “Port” submenu. This is the port through which your Arduino board communicates with your computer.
If your board isn’t listed, you may need to install additional support packages. Go to “Tools” > “Board” > “Boards Manager” to find and install the right package.
Once configured, you can start writing and uploading sketches. The IDE also provides access to libraries that extend your Arduino’s functionality. Manage these through the “Sketch” > “Include Library” menu.
| Arduino IDE Feature | Description |
|---|---|
| Sketch | The main code editor where you write your Arduino programs |
| Libraries | Pre-written code modules that provide additional functionality for your projects |
| Serial Monitor | A tool that displays data sent from your Arduino board and allows you to send commands to the board |
| Board Manager | Allows you to install support for additional Arduino boards and third-party hardware |
| Port Selection | Enables you to choose the correct communication port for your Arduino board |
With the Arduino software environment set up, you’re ready to build IoT projects. The IDE offers a user-friendly platform for coding and interacting with your Arduino board. It’s a crucial tool for any Arduino enthusiast.
Basic Arduino Programming for IoT
Arduino programming is key for IoT projects. It’s based on C++ but simplified for beginners. Understanding the basic structure and key functions is crucial.
Every Arduino sketch has two main functions: setup and loop. Setup runs once to initialize variables and pin modes. It configures the board to work with sensors or actuators.
The loop function runs continuously, containing the main program logic. It uses control structures to make decisions based on input. Functions perform specific tasks and keep code organized.
Arduino programming uses variables to store and manipulate data. Different data types are available for various needs. Functions help create modular, easy-to-maintain code.
“The beauty of Arduino is that it makes programming accessible to everyone, regardless of their technical background. With a little patience and practice, anyone can learn to create amazing IoT projects using Arduino.”
Input and output functions are vital for IoT projects. digitalRead() and analogRead() gather data from sensors. digitalWrite() and analogWrite() control actuators like LEDs and motors.
Advanced concepts include interrupts, timers, and communication protocols. Start with basics and build your skills gradually. Soon, you’ll create innovative IoT projects with Arduino.
Connecting Arduino to the Internet
Connecting Arduino to the internet unlocks new possibilities for your projects. It allows remote monitoring, control, and data exchange. Let’s explore options for connecting Arduino to the internet and using the ESP8266 Wi-Fi module.
The ESP8266 offers an affordable solution for Arduino Wi-Fi connectivity. It’s versatile and easy to integrate into your projects.
Overview of Arduino Networking Options
Arduino has several internet connection options. These include Ethernet Shield for wired networks and Wi-Fi Shield for wireless connectivity. The ESP8266 Wi-Fi Module provides low-cost Wi-Fi capabilities.
Bluetooth modules allow wireless communication with other devices. Each option has unique advantages based on project needs and resources.
Using the ESP8266 Wi-Fi Module with Arduino
The ESP8266 is a powerful Wi-Fi module for Arduino projects. It supports IEEE 802.11 b/g/n Wi-Fi standards and offers built-in TCP/IP stack. The module also provides web server functionality and client-server communication capabilities.
To use ESP8266 with Arduino, follow these steps:
- Connect ESP8266 to Arduino using RX and TX pins for serial communication.
- Install ESP8266WiFi library in Arduino IDE.
- Configure ESP8266 with Wi-Fi credentials using AT commands or Arduino Wi-Fi library.
- Write code to connect to Wi-Fi and perform desired actions.
The ESP8266 can be programmed directly using Arduino IDE. This makes it easy to develop and upload sketches. You can use its GPIO pins to connect additional sensors and actuators.
Configuring Wi-Fi Credentials and Connecting to a Network
To connect Arduino with ESP8266 to Wi-Fi, provide the network’s SSID and password. Here’s an example of configuring Wi-Fi credentials in your Arduino sketch:
#include
const char* ssid = “your_SSID”;
const char* password = “your_PASSWORD”;
void setup() {
Serial.begin(115200);
WiFi.begin(ssid, password);
while (WiFi.status() != WL_CONNECTED) {
delay(1000);
Serial.println(“Connecting to WiFi…”);
}
Serial.println(“Connected to WiFi”);
}
After configuring Wi-Fi credentials, Arduino will connect to the network. Use WiFi.status() to check the connection status. Take appropriate actions based on the result.
With Arduino connected to the internet, new IoT project possibilities emerge. Set up a web server for remote control or send sensor data to the cloud. Use protocols like MQTT to communicate with other devices.
Interacting with Cloud Platforms and Services
Connecting your Arduino project to the cloud opens up new possibilities. You can store, analyze, and visualize sensor data remotely. Let’s explore how to interact with IoT platforms like Arduino IoT Cloud and ThingSpeak.
Introduction to IoT platforms like Arduino IoT Cloud and ThingSpeak
IoT platforms simplify connecting Arduino projects to the cloud. They offer tools for data logging, visualization, and analysis. Two popular platforms for Arduino are:
- Arduino IoT Cloud: A platform developed by Arduino that allows you to create, manage, and monitor your IoT projects from a web-based interface.
- ThingSpeak: An open-source IoT platform that enables you to collect, store, analyze, and visualize your sensor data in the cloud.
Sending data from Arduino to the cloud
To send data to the cloud, connect your Arduino to an IoT platform. Here are the basic steps:
- Configure your Arduino to connect to the internet using Wi-Fi or Ethernet.
- Create an account on the IoT platform of your choice (e.g., Arduino IoT Cloud or ThingSpeak).
- Set up a new device or channel on the platform to receive data from your Arduino.
- Write Arduino code to send sensor data to the platform using the provided API or library.
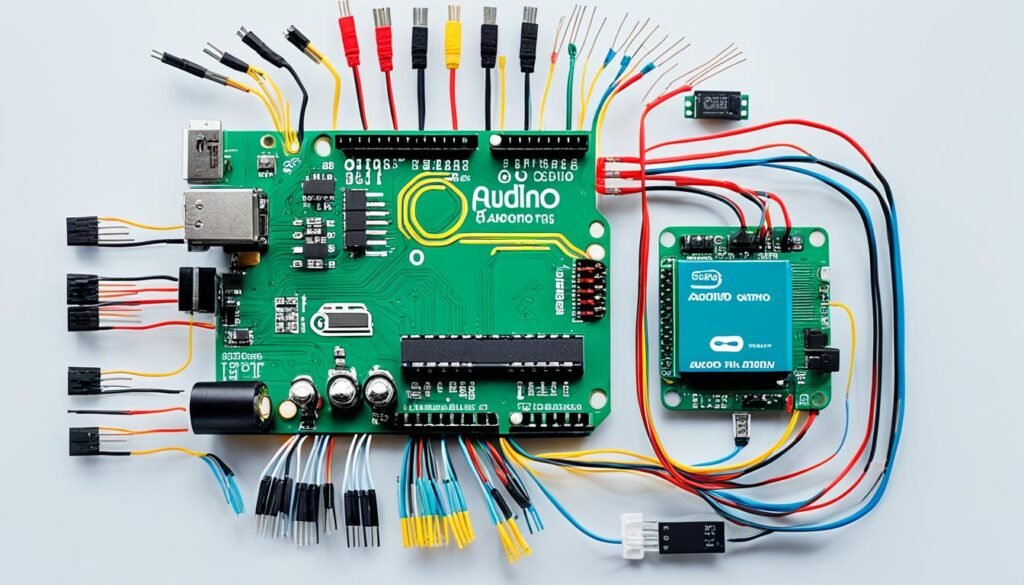
IoT platforms support various communication protocols like MQTT and REST API. These allow efficient and secure data transfer. Arduino IoT Cloud offers a simple library for easy communication with the platform.
Visualizing and analyzing sensor data
IoT platforms provide tools to visualize and analyze your sensor data. This helps you gain insights and make data-driven decisions. Common features include:
| Feature | Description |
|---|---|
| Real-time data monitoring | View your sensor data in real-time through interactive charts and graphs. |
| Historical data storage | Access and analyze past sensor data to identify trends and patterns. |
| Alerts and notifications | Set up custom alerts to notify you when sensor values exceed defined thresholds. |
| Data export | Download your sensor data in various formats for further analysis or integration with other tools. |
These features help you understand your Arduino IoT project’s performance better. You can spot trends and make informed decisions based on your sensor data.
Arduino IoT Projects: Ideas and Examples
Arduino is perfect for creating Internet of Things (IoT) projects. It’s versatile and easy to use. You can make simple home automation systems or complex environmental monitors.
Arduino lets you build innovative and practical IoT applications. Let’s explore some popular project ideas and examples.
Smart Home Automation Projects
Smart home automation is a top Arduino IoT application. You can control lighting and appliances with sensors and actuators. Create systems that adjust room lighting based on ambient light levels.
Use Arduino to enable remote control of home devices via smartphone apps. Its flexibility allows you to customize projects to your specific needs.
Environmental Monitoring Systems
Arduino excels in environmental monitoring projects. Integrate sensors for temperature, humidity, air quality, and light. These systems collect and analyze real-time data about your surroundings.
Monitor indoor air quality or track outdoor weather conditions. Arduino’s cloud communication allows easy data storage, visualization, and sharing. This enables remote monitoring and data-driven decisions.
Wearable Technology and Health Monitoring Devices
Arduino is great for developing wearable tech and health monitors. Use sensors like accelerometers and heart rate monitors. Create fitness trackers that count steps, calories burned, and monitor sleep patterns.
Build smartwatches that display notifications and control other IoT devices. Arduino’s small size and low power use make it ideal for compact wearables.
| Project Category | Examples | Key Components |
|---|---|---|
| Smart Home Automation |
|
|
| Environmental Monitoring |
|
|
| Wearable Technology and Health Monitoring |
|
|
These are just a few Arduino IoT project examples. As you learn more, you’ll create complex projects. These can solve real-world problems and improve various aspects of your life.
Integrating Arduino with Other IoT Devices and Protocols
Arduino’s versatility makes it perfect for IoT systems. It works well with many devices and protocols. This allows developers to create complex, interconnected IoT systems that share data easily.
MQTT is a popular IoT protocol for Arduino. It’s a lightweight messaging system for efficient device communication. Arduino can publish sensor data and receive commands using MQTT.
WebSockets enable real-time, two-way communication with web apps. Arduino can send and receive data instantly. This is great for creating interactive IoT applications.
Bluetooth and Zigbee are useful for short-range communication. Bluetooth connects Arduino to nearby devices like smartphones. Zigbee allows Arduino to talk with other devices over longer distances.
LoRa is perfect for long-range communication. It lets Arduino send data over several kilometers. This works well for environmental monitoring or asset tracking.
Arduino can team up with other hardware platforms too. Raspberry Pi adds more processing power and storage. NodeMCU provides built-in Wi-Fi connectivity.
| Protocol/Platform | Key Features | Typical Applications |
|---|---|---|
| MQTT | Lightweight publish-subscribe messaging | Sensor data collection, device control |
| WebSockets | Real-time, bidirectional communication | Web-based dashboards, interactive applications |
| Bluetooth | Short-range wireless communication | Remote control, smartphone integration |
| Zigbee | Low-power, mesh networking | Home automation, industrial IoT |
| LoRa | Long-range, low-power communication | Environmental monitoring, asset tracking |
| Raspberry Pi | Powerful processing and storage capabilities | Central hub, computationally intensive tasks |
| NodeMCU | Built-in Wi-Fi connectivity | IoT gateways, wireless network integration |
Arduino’s flexibility allows it to fit into many IoT ecosystems. It can exchange data, control devices, and perform advanced tasks. This makes Arduino a powerful tool for building robust IoT solutions.
Security Considerations for Arduino IoT Projects
Arduino IoT projects need strong security to protect devices and data. IoT security is vital as more devices connect to the internet. Proper measures ensure the safety of your Arduino IoT system.
Securing data transmission between Arduino and the cloud
Protecting data sent between your device and the cloud is crucial. Use encryption protocols like SSL/TLS to create secure connections. This makes it hard for attackers to steal data.
Use the latest SSL/TLS protocol for Arduino-cloud communication. Update Arduino libraries and firmware regularly. This ensures you have the newest security patches.
Implementing authentication and access control measures
Authentication and access control are key to Arduino IoT security. These measures ensure only allowed users can access your system. They also set permissions for each user.
Use passwords or API keys for authentication. This stops unauthorized access to your devices and data. Define different access levels for users and devices.
Role-based access control (RBAC) helps manage permissions effectively. Some users may only view data, while others have full control.
Encryption, authentication, and access control create a strong security framework. This protects your Arduino IoT project from threats and unauthorized access.
Consider these extra security best practices for your Arduino IoT project:
- Enable secure boot: Secure boot ensures that only trusted and verified firmware can run on your Arduino device, preventing attackers from installing malicious code.
- Regularly update firmware: Keep your Arduino and any connected modules up to date with the latest firmware versions, which often include security patches and bug fixes.
- Use strong passwords and secure key storage: Implement strong, unique passwords for all user accounts and securely store any API keys or authentication tokens.
- Monitor and log activity: Regularly monitor your Arduino IoT system for suspicious activity and maintain logs for auditing and troubleshooting purposes.
| Security Measure | Description |
|---|---|
| Encryption | Use SSL/TLS protocols to encrypt data transmitted between Arduino and the cloud |
| Authentication | Implement password protection or API keys to ensure only authorized users can access the system |
| Access Control | Define different levels of permissions for users or devices using role-based access control (RBAC) |
| Secure Boot | Enable secure boot to prevent the installation of unauthorized firmware on the Arduino device |
| Firmware Updates | Regularly update the firmware of Arduino and connected modules to patch security vulnerabilities |
These security measures protect your Arduino IoT project from threats. They create a safe and reliable IoT system. Regular updates and monitoring keep your project secure.
Troubleshooting and Optimizing Your Arduino IoT Project
Arduino IoT projects can face various challenges. Troubleshooting and optimizing are crucial skills for IoT developers. Let’s explore common problems and their solutions. We’ll also discuss ways to improve your project’s performance.
Common issues and their solutions
Serial communication issues often plague Arduino IoT projects. These can stem from incorrect baud rates or mismatched data formats. Loose connections may also cause problems.
To fix serial communication issues, check your wiring connections. Make sure baud rates and data formats match between devices. Use the Arduino IDE’s serial monitor for debugging.
Power supply problems can cause unexpected resets or brownouts. Use a power supply with sufficient current and voltage. Choose high-quality, regulated power supplies to minimize fluctuations. Consider adding voltage regulators or capacitors.
- Double-check your wiring connections to ensure they are secure and properly connected.
- Verify that the baud rates and data formats match between the Arduino and the connected device.
- Use the Arduino IDE’s serial monitor to debug and monitor the communication flow.
To address power supply issues, follow these steps:
- Ensure your power supply provides sufficient current and voltage for your Arduino board and connected components.
- Use high-quality, regulated power supplies to minimize voltage fluctuations.
- Implement voltage regulators or capacitors to smooth out power supply variations.
Always test your project thoroughly and use diagnostic tools like multimeters and oscilloscopes to identify and resolve power supply problems.
Performance optimization techniques
Optimizing your Arduino IoT project is vital for resource-constrained devices. It’s especially important for battery-powered applications. Here are some techniques to boost your project’s performance:
| Optimization Technique | Description |
|---|---|
| Code optimization | Streamline your code by removing unnecessary loops, calculations, and function calls. Use efficient algorithms and data structures to minimize execution time and memory usage. |
| Memory management | Carefully manage memory usage by allocating and deallocating memory effectively. Avoid dynamic memory allocation whenever possible and use static arrays or pre-allocated memory pools instead. |
| Battery life optimization | Implement power-saving techniques such as putting the Arduino into sleep mode when idle, reducing the clock speed, and minimizing the use of power-hungry peripherals. Use low-power sensors and optimize data transmission intervals to extend battery life. |
These techniques can greatly improve your Arduino IoT project’s efficiency. They’ll also boost its reliability. Keep monitoring your project’s performance to find areas for improvement.
Conclusion
Arduino and IoT create exciting opportunities for makers and innovators. These tools allow you to build practical, connected solutions for real-world problems. You can explore home automation, environmental monitoring, and wearable technology with Arduino and IoT.
The maker community is a great resource for inspiration and support. Join online forums and explore Arduino resources to improve your skills. You’ll find tutorials and project showcases to fuel your passion for innovation.
Start experimenting with Arduino IoT projects today. Embrace challenges and celebrate successes as you create new connected devices. With Arduino and IoT, your creativity can truly shine.
Happy making! The possibilities are endless when you combine Arduino and IoT.
FAQ
What is Arduino, and how does it relate to IoT?
What do I need to get started with an Arduino IoT project?
How do I connect my Arduino to the internet?
What are some popular Arduino IoT project ideas?
How can I ensure the security of my Arduino IoT project?
What should I do if I encounter issues with my Arduino IoT project?
Source Links
- Arduino IoT Beginner’s Guide: Essential Steps to Start Your First Project – thinglabs – https://thinglabs.io/arduino-iot-beginners-guide
- ARDUINO IOT – https://www.instructables.com/ARDUINO-IOT-1/
- Build Your First IOT Using Arduino Without Additional Modules – https://www.instructables.com/Build-Your-First-IOT-Using-Arduino-Without-Additio/

