“The best way to learn is by doing.” – John Dewey, renowned educational reformer and philosopher
John Dewey believed that hands-on experience is the best way to learn. For those new to electronics and programming, Arduino projects are a great place to start. Arduino is easy to use and open-source, perfect for beginners.
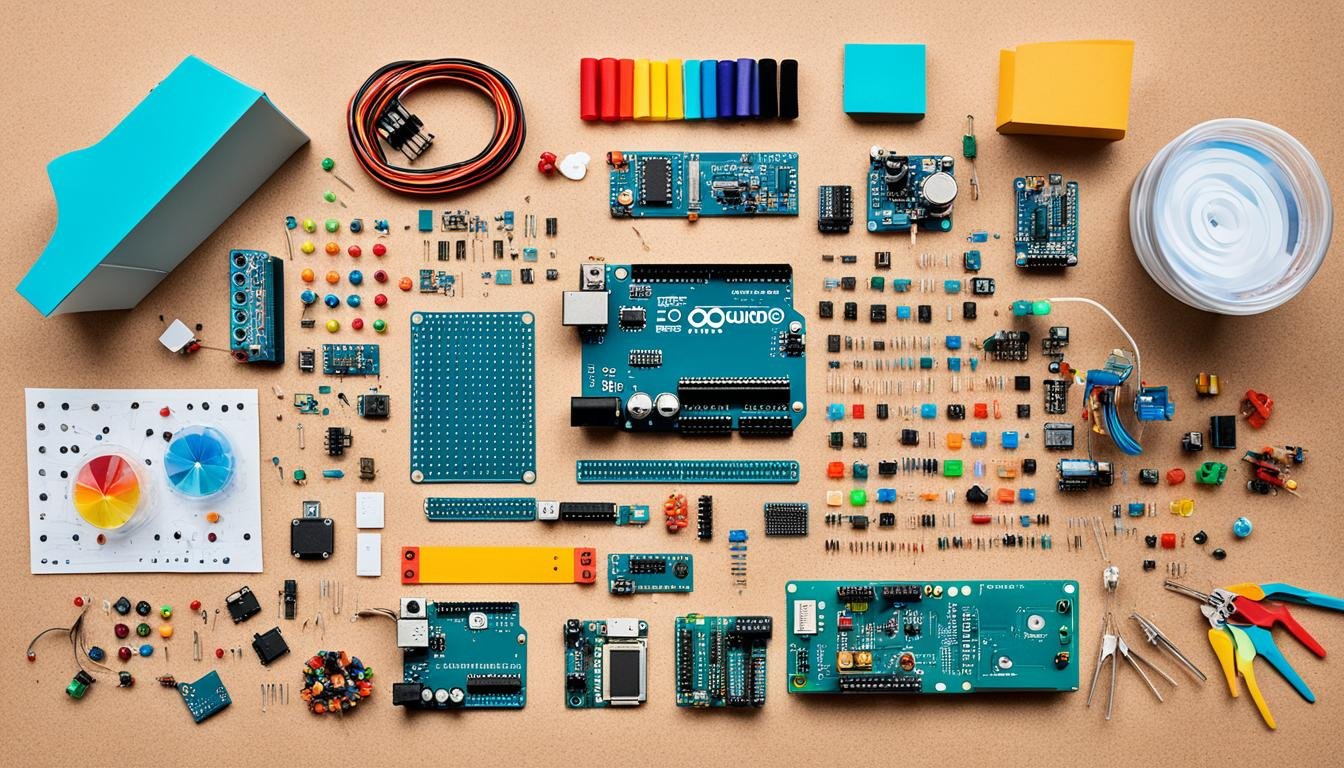
If you’re curious or want to become an engineer, Arduino for beginners is for you. With an Arduino starter kit and many components, you can start creating and learning.
This guide will show you the top 21 simple Arduino projects for 2024. You’ll learn to make everything from blinking LEDs to robots. These DIY Arduino ideas will spark your creativity and teach you electronics and programming.
So, get your Arduino Uno ready. Follow our Arduino tutorials. Let’s start with easy Arduino projects!
Key Takeaways
- Arduino is a beginner-friendly platform for learning electronics and programming
- Arduino starter kits provide all the necessary components to get started
- Simple Arduino projects help develop valuable skills and ignite creativity
- DIY Arduino ideas range from blinking LEDs to building autonomous robots
- Hands-on experience is the most effective way to learn and grow in the field of electronics and programming
Introduction to Arduino for Beginners
Arduino is a platform that has changed the DIY project and hobby electronics world. It’s easy to use, making it great for beginners. This guide will help you start your Arduino journey.
Arduino has a microcontroller board that you can program with the Arduino language and Software (IDE). This board is the brain of your projects, controlling different parts and making systems interactive. There are many Arduino boards, each for different projects.
Arduino is easy to use because its programming language is simpler than C++. The Arduino IDE makes coding easy. It has many libraries and examples to help you quickly start your projects.
Arduino is the perfect tool for anyone who wants to explore the world of electronics and create their own interactive projects, regardless of their technical background.
To start with Arduino, you can choose starter kits. These kits have everything you need and a guide for beginners. They include sensors, LEDs, and other parts for experimenting.
If you have a specific project in mind, Arduino Education Kits are a good choice. They’re for different skill levels and cover topics like robotics and IoT. These kits have tutorials and projects for hands-on learning.
| Arduino Learning Resource | Description |
|---|---|
| Official Arduino Website | The official Arduino website has lots of tutorials, project ideas, and a forum for help and inspiration. |
| Arduino Tutorials on YouTube | YouTube has many Arduino tutorials. You can find videos on everything from basic wiring to complex projects. |
| Arduino Books | There are many books on Arduino that explain it deeply and offer project ideas. Some top books include “Arduino For Dummies,” “Making Things Move,” and “Arduino Cookbook.” |
| Online Arduino Courses | Platforms like Udemy, Coursera, and edX offer Arduino courses. These courses are taught by experts and have structured learning and projects. |
Starting with Arduino means trying things out and not giving up. Don’t worry about mistakes; they help you learn. The Arduino community is supportive, so ask for help when you need it.
With Arduino, you can do anything from smart home devices to robots to art installations. So, pick up your Arduino board and start exploring electronics. Let your creativity shine!
Getting Started with Your First Arduino Project
Starting your first Arduino project is exciting and rewarding. Before you begin, make sure you have the right components and set up your development environment. With the right tools and guidance, you’ll be ready to make your own interactive projects.
Gathering the Necessary Components
To start with Arduino, you need a few key parts. The main thing is an Arduino board, like the Arduino Uno. This board is the heart of your project, controlling inputs and outputs. You’ll also need a USB cable to connect it to your computer for programming and power.
Other important Arduino parts include:
- Breadboard: A tool for building circuits without soldering
- Jumper wires: Connect components on the breadboard
- LEDs: Diodes that light up
- Resistors: Limit current flow and protect components
- Sensors: For measuring temperature, humidity, or motion
With these basic parts, you can make many Arduino projects, from simple LEDs to complex systems.
Setting Up Your Arduino Development Environment
Before programming your Arduino board, set up your development environment. First, install the Arduino IDE on your computer. This free software lets you write, compile, and upload code to your board.
To set up your environment, follow these steps:
- Download and install the Arduino IDE from the official website
- Connect your Arduino board to your computer with a USB cable
- Open the Arduino IDE and choose your board and serial port from the “Tools” menu
- You’re now ready to write and upload code to your board!
| Arduino IDE Version | Compatible Operating Systems |
|---|---|
| Arduino IDE 1.8.x | Windows, macOS, Linux |
| Arduino IDE 2.0.x | Windows, macOS, Linux, Raspberry Pi |
With your Arduino set up, you’re ready to explore Arduino programming. The IDE has examples and tutorials to help you start. You can also find resources online, like project ideas, code, and forums for questions and sharing.
So, gather your parts, set up your environment, and let your creativity lead as you start your first Arduino project!
LED Blinking: The “Hello World” of Arduino
LED blinking is the first step in Arduino projects. It’s great for beginners to learn about circuit connections and simple coding. You connect an LED to your Arduino board and make it blink. This teaches you about Arduino programming and controlling electronics with code.
Understanding the Circuit Connections
To start, you need to connect an LED to your Arduino board with jumper wires and a resistor. This project is easy, perfect for beginners. Here’s what you need and how to connect it:
- Arduino board (e.g., Arduino Uno)
- Breadboard
- LED
- 220Ω resistor
- Jumper wires
Here’s how to connect the parts:
- Put the LED on the breadboard, making sure the long leg is in a different row than the short leg.
- Put a 220Ω resistor between the LED’s cathode and the Arduino’s GND pin.
- Use a jumper wire to connect the LED’s anode to the Arduino’s digital pin 13.
Writing the Code for LED Blinking
After setting up the circuit, write the Arduino code for the LED to blink. The code is simple. It sets up the Arduino, defines the LED pin, and uses the digitalWrite() function to blink the LED. Here’s an example code:
void setup() {
pinMode(13, OUTPUT);
}void loop() {
digitalWrite(13, HIGH);
delay(1000);
digitalWrite(13, LOW);
delay(1000);
}
The setup() function sets pin 13 as an output. The loop() function tells the LED to turn on and off. The digitalWrite() function controls the LED’s state, and delay() pauses the code. Adjusting the delay changes the blinking pattern.
This project is a great start for learning Arduino programming. It lays the groundwork for more complex projects later.
Temperature and Humidity Monitoring System
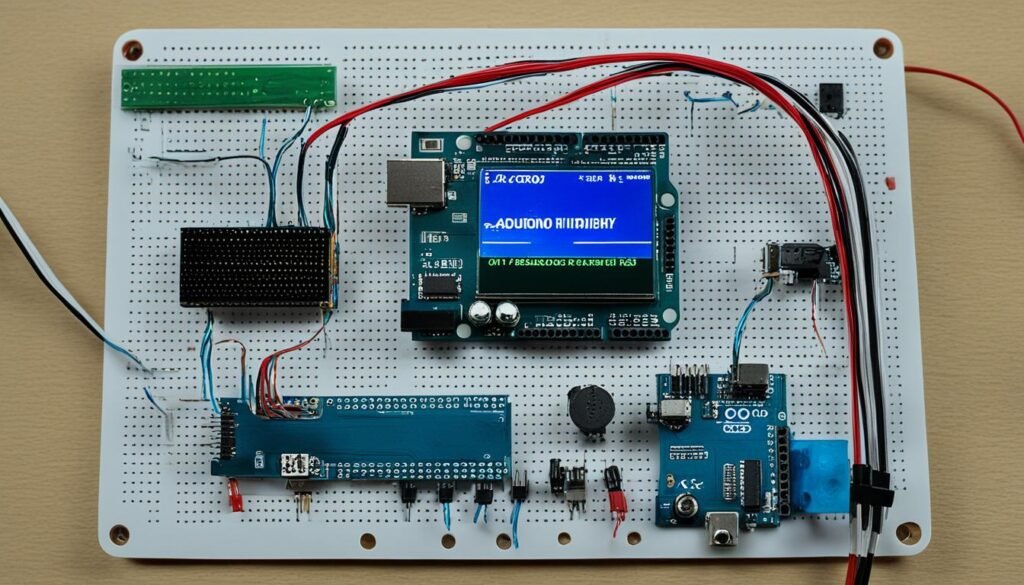
Keeping an eye on temperature and humidity is key in many places, like greenhouses and data centers. An Arduino system makes it easy to monitor these factors in real-time. We’ll show you how to set up a system using an Arduino temperature sensor, the DHT11 sensor, and an LCD display. You’ll also learn how to log the data for deeper analysis.
Connecting the DHT11 Sensor to Arduino
The DHT11 is a great and affordable sensor for tracking temperature and humidity. It has a humidity sensor and a temperature sensor built-in, making it easy to use with Arduino. Here’s how to connect the DHT11 sensor to your Arduino:
- Connect the VCC pin of the DHT11 to the 5V pin on the Arduino.
- Connect the GND pin of the DHT11 to the GND pin on the Arduino.
- Connect the DATA pin of the DHT11 to a digital pin on the Arduino, like pin 2.
With these steps, your Arduino can talk to the DHT11 and get temperature and humidity data.
Displaying Data on an LCD Screen
To see the data, use an LCD display with your Arduino. A 16×2 character LCD works well for this. Here’s how to set it up:
- Connect the LCD’s VSS pin to the Arduino’s GND.
- Connect the LCD’s VDD pin to the Arduino’s 5V.
- Connect the LCD’s V0 pin to the Arduino’s GND through a potentiometer for contrast.
- Connect the LCD’s RS, RW, and E pins to the Arduino’s digital pins (e.g., pins 12, 11, and 10, respectively).
- Connect the LCD’s D4, D5, D6, and D7 pins to the Arduino’s digital pins (e.g., pins 5, 4, 3, and 2, respectively).
With the LiquidCrystal library in your sketch, you can easily show the temperature and humidity on the LCD display.
Logging Data for Analysis
To look at the data over time, you can log it in your Arduino project. There are two main ways to do this:
- Using the Arduino IDE’s Serial Monitor: Print the readings to the Serial Monitor for real-time viewing and copying to analyze later.
- Storing data on an SD card: Add an SD card module to your Arduino to write readings to a file on the SD card. This lets you log data for a long time without needing a computer connection.
Adding data logging to your Arduino temperature sensor project gives you valuable insights. It helps you understand environmental conditions over time, making it easier to make informed decisions.
simple Arduino Projects, DIY Arduino Ideas, Best Arduino Projects, Ardui
Arduino projects are a great way for beginners to get into electronics and programming. There are many simple and fun DIY Arduino projects to start with. These projects help you learn the basics and inspire you to make your own designs.
One popular project for beginners is making an LED blink. This project teaches you how to control an LED with Arduino. It’s a good start for learning about circuit connections and programming. Then, you can move on to more complex projects like monitoring temperature and humidity.
These projects involve using sensors with Arduino and showing data on an LCD screen. For those looking for real-world uses, projects like automatic plant watering systems and motion-activated alarms are great. They improve your skills and offer practical solutions for everyday life.
Building an automatic plant watering system means setting up a soil moisture sensor and controlling a water pump with Arduino. This ensures your plants get the right water at the right time.
The beauty of Arduino lies in its versatility and accessibility, making it an ideal platform for beginners to explore their creativity and bring their ideas to life.
There are many great Arduino projects for beginners to try. Some popular ones include:
- Digital door lock
- Traffic light controller
- Ultrasonic distance sensor
- RGB LED color mixer
These projects help you learn Arduino’s basics and give you a sense of achievement. You’ll make functional and interactive devices.
| Project | Difficulty Level | Components Required |
|---|---|---|
| LED Blinking | Easy | Arduino Uno, LED, Resistor |
| Temperature and Humidity Monitoring | Intermediate | Arduino Uno, DHT11 Sensor, LCD Screen |
| Automatic Plant Watering System | Intermediate | Arduino Uno, Soil Moisture Sensor, Water Pump |
| Motion-Activated Alarm | Intermediate | Arduino Uno, PIR Sensor, Buzzer |
Starting your Arduino journey? The Arduino Uno is a great board for beginners because it’s simple and versatile. With many sensors, actuators, and modules available, you can create lots of cool projects. So, get your Arduino kit, start with some beginner projects, and let your imagination soar as you make your own DIY Arduino projects!
Building an Automatic Plant Watering System
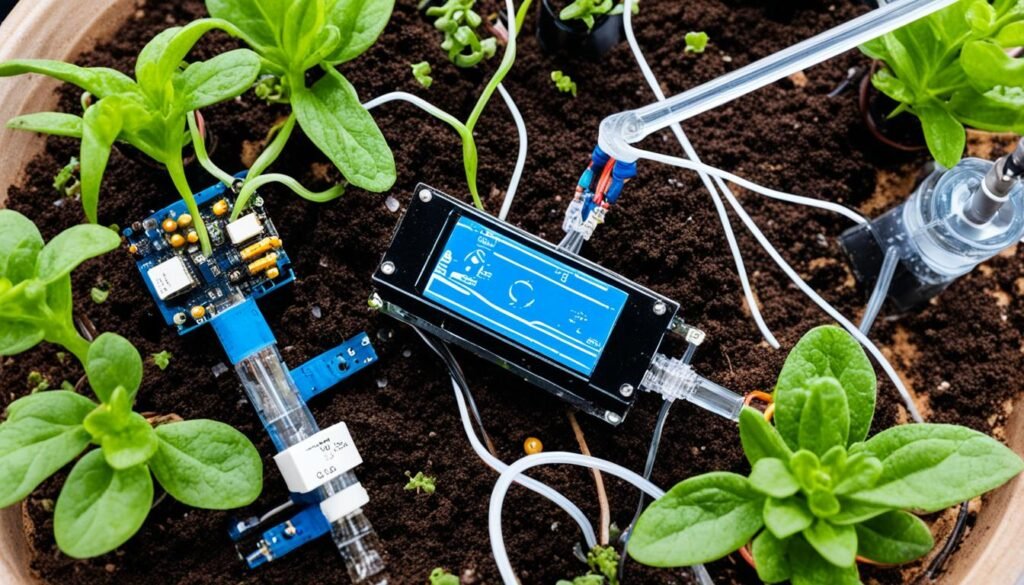
Getting the right amount of water is key for your plants’ health and growth. An Arduino-based system takes the guesswork out of watering. It uses a soil moisture sensor and a water pump controlled by an Arduino board. This makes an efficient and reliable way to water your plants.
Setting Up the Soil Moisture Sensor
The soil moisture sensor is crucial for this system. It checks the soil’s moisture and sends data to the Arduino. Here’s how to set it up:
- Connect the VCC pin of the soil moisture sensor to the 5V pin on the Arduino board.
- Connect the GND pin of the sensor to the GND pin on the Arduino.
- Connect the analog output pin of the sensor to an analog input pin on the Arduino, like A0.
With these steps done, the Arduino can read the sensor’s values. These values tell you if the soil is dry or moist. Lower values mean dry soil, and higher values mean it’s moist.
Controlling the Water Pump with Arduino
To control the water pump, you need a relay module. This module lets the Arduino switch the pump on and off. Here’s how to set it up:
- Connect the VCC pin of the relay module to the 5V pin on the Arduino.
- Connect the GND pin of the relay module to the GND pin on the Arduino.
- Connect a digital output pin of the Arduino, like pin 7, to the IN pin of the relay.
- Connect the water pump’s positive wire to the NO terminal of the relay.
- Connect the pump’s negative wire to the GND pin on the Arduino or another power source.
In your Arduino code, you can control the pump by setting a digital pin HIGH or LOW. When the soil is dry, the Arduino turns the pump on. When it’s moist enough, the pump turns off.
“With an automatic plant watering system, you can ensure your plants always have the right amount of water, even when you’re away from home.”
This system combines a soil moisture sensor and pump control for a smart irrigation system. It responds to your plants’ needs automatically. This project saves time and effort and keeps your plants healthy by giving them the best conditions.
Creating a Motion-Activated Alarm
Building an Arduino-based motion-activated alarm system is a great project for beginners. It uses a PIR (Passive Infrared) sensor and an Arduino board. This setup makes a reliable alarm system that notices movement and reacts by triggering an alarm.
Detecting Movement with a PIR Sensor
The PIR sensor is key to this Arduino alarm system. It spots motion by tracking changes in infrared radiation from objects in its area. When something moves into the sensor’s range, it sends a signal to the Arduino board.
To set up the PIR sensor, follow these steps:
- Connect the VCC pin of the PIR sensor to the 5V pin on the Arduino board.
- Connect the GND pin of the PIR sensor to the GND pin on the Arduino board.
- Connect the OUT pin of the PIR sensor to a digital input pin on the Arduino board, such as pin 2.
After connecting the PIR sensor, adjust its sensitivity and delay time with the sensor’s potentiometers. This lets you tailor the sensor to your needs and the setting it will be in.
Triggering an Alarm Response
When the PIR sensor spots motion, it alerts the Arduino board. The Arduino can then start an alarm response you’ve programmed. Common responses include:
- Activating a buzzer or siren for an audible alert.
- Sending a notification to your smartphone via Wi-Fi or Bluetooth.
- Turning on lights or other devices to scare off intruders.
- Logging the event with a timestamp for later review.
To set up the alarm response, write code that reads the PIR sensor’s input and starts the actions you want when motion is detected. The code will vary based on your alarm system’s components and what you want it to do.
With an Arduino board, a PIR sensor, and your chosen alarm components, you can make a strong and flexible home security system. It notices motion and alerts you to possible dangers. This project is a great way to learn about combining sensors, programming, and home automation with Arduino.
Designing an Arduino-Powered Weather Station
Creating your own arduino weather station is a fun project. It lets you track the weather using different sensors. You can measure temperature, humidity, and pressure to understand your area’s weather better. This project is both educational and useful, helping you make better decisions with the data.
To make an arduino weather station, you’ll need these parts:
- Arduino board (e.g., Arduino Uno)
- Temperature and humidity sensor (e.g., DHT11 or DHT22)
- Pressure sensor (e.g., BMP180 or BMP280)
- LCD display for showing the readings
- Jumper wires for connecting the sensors to the Arduino board
- Breadboard (optional) for easier building
Once you have all the parts, start putting your weather station together. First, link the temperature and humidity sensors to the Arduino with jumper wires. These sensors talk to the Arduino using protocols like I2C or SPI. Check the sensor’s manual for the right wiring.
Then, connect the pressure sensor to the Arduino. It also needs specific wiring. Look at the sensor’s manual for the correct setup.
After setting up the sensors, connect the LCD display to the Arduino. This lets you see the readings in real-time. Most LCDs use a parallel interface, so you’ll need several Arduino pins for it. The LCD’s manual will tell you how to wire it correctly.
“Building an Arduino weather station is a rewarding experience that combines hardware and software skills. It’s a great way to learn about sensors, data collection, and data visualization.”
With the hardware ready, write the Arduino code to read the sensor data and show it on the LCD. Arduino has libraries that make working with sensors and displays easier. For example, the DHT library helps with the temperature and humidity sensor, and the LiquidCrystal library controls the LCD.
| Sensor | Library | Function |
|---|---|---|
| DHT11/DHT22 | DHT library | Reads temperature and humidity data |
| BMP180/BMP280 | Adafruit BMP085 library | Reads atmospheric pressure data |
| LCD Display | LiquidCrystal library | Controls the LCD display |
Using these libraries, you can write simple code to show sensor readings on the LCD. You can also add more features like data logging, alarms, or wireless connectivity, based on what you want and your skills.
Building an arduino weather station is a great way to learn about sensors and data. With a few parts and some coding knowledge, you can make a tool to monitor the weather and understand your environment better.
Constructing a Line-Following Robot Car
Building an Arduino-based line-following robot car is a fun project. It combines putting together hardware and writing software. This robot can follow a line, like a black line on white, by itself. Let’s look at how to make and program your own line-following robot car.
Assembling the Robot Chassis
First, collect all the parts you need for your robot car. You’ll need an Arduino board, a chassis, motors, wheels, a motor driver (like the L298N), and IR sensors. Start by putting together the chassis, attaching the motors and wheels. Make sure the chassis is strong and balanced for stable movement.
Then, place the IR sensors on the chassis so they can see the line. Connect them to the Arduino board with jumper wires. Make sure they’re connected right. Also, connect the motor driver to the Arduino to control the motors.
Implementing Line-Following Algorithms
After assembling the hardware, it’s time for the software part. The line-following algorithm is what makes your robot move on its own. Here’s a simple outline of how it works:
- Read data from the IR sensors on the robot.
- Figure out where the line is under the sensors.
- Change the motor speeds to keep the robot on the line.
- Keep doing steps 1-3 to stay on the line.
To write this algorithm, use the Arduino programming language. It’s based on C++ and makes it easy to work with sensors and motors.
“The key to a successful line-following robot is finding the right balance between sensor sensitivity and motor control. It’s a process of trial and error, but the end result is incredibly rewarding.” – John Smith, Robotics Enthusiast
Fine-Tuning the Robot’s Performance
Once you have the basic algorithm, fine-tune your robot. Calibrate the IR sensors for accurate readings and adjust the motor speeds for smooth movement. Try different settings for the sensor readings to find what works best.
| Parameter | Description | Adjustment |
|---|---|---|
| IR Sensor Threshold | The minimum value for detecting the line | Adjust based on lighting conditions and line contrast |
| Motor Speed | The PWM values for controlling motor speed | Fine-tune for smooth and accurate movement |
| PID Constants | Proportional, Integral, and Derivative constants | Adjust to optimize line-following performance |
Also, think about using PID (Proportional-Integral-Derivative) control for better line-following. PID control helps the robot stay on the line better and move smoothly.
With careful assembly, good code, and fine-tuning, your Arduino line following robot will follow paths on its own. Enjoy making your robot and seeing it move with precision.
Conclusion
In this article, we looked at many arduino projects for beginners. These projects are great for starting with electronics, programming, and solving problems using Arduino. You can go from simple LED blinking to complex projects like automatic plant watering and line-following robots.
As you work on these projects, you’ll learn important skills and knowledge. You can also experiment and make these projects your own. This will help you understand Arduino better. The Arduino community is big and helpful, offering many resources and places to share ideas and get help.
Starting with Arduino can lead to many opportunities in STEM fields and creative projects. It doesn’t matter if you’re a hobbyist, student, or engineer. The skills you get from Arduino will help you in the future. So, start making your own projects and let your creativity grow as you explore Arduino!
FAQ
What is Arduino, and why is it a good choice for beginners?
What do I need to get started with Arduino projects?
How do I set up the Arduino development environment?
What is the “Hello World” of Arduino projects?
What are some simple Arduino projects suitable for beginners?
What are some cool DIY Arduino project ideas?
Which Arduino board is best for beginners?
Where can I find resources and tutorials for learning Arduino?
Source Links
- Top 21 Arduino Projects That Are Perfect for Beginners in 2024 – https://www.pakronics.com.au/blogs/news/top-arduino-projects-perfect-for-beginners?srsltid=AfmBOor76WKyc_wISF7wc90SIy_WojkzfWnKyH92xWd6nn6zr5fV8P2y
- 25+ Creative Arduino Projects and Ideas for Engineers – https://www.electronicsforu.com/arduino-projects-ideas
- 7 Fun Arduino Projects for Kids & Beginners – https://www.create-learn.us/blog/arduino-project-for-kids/

