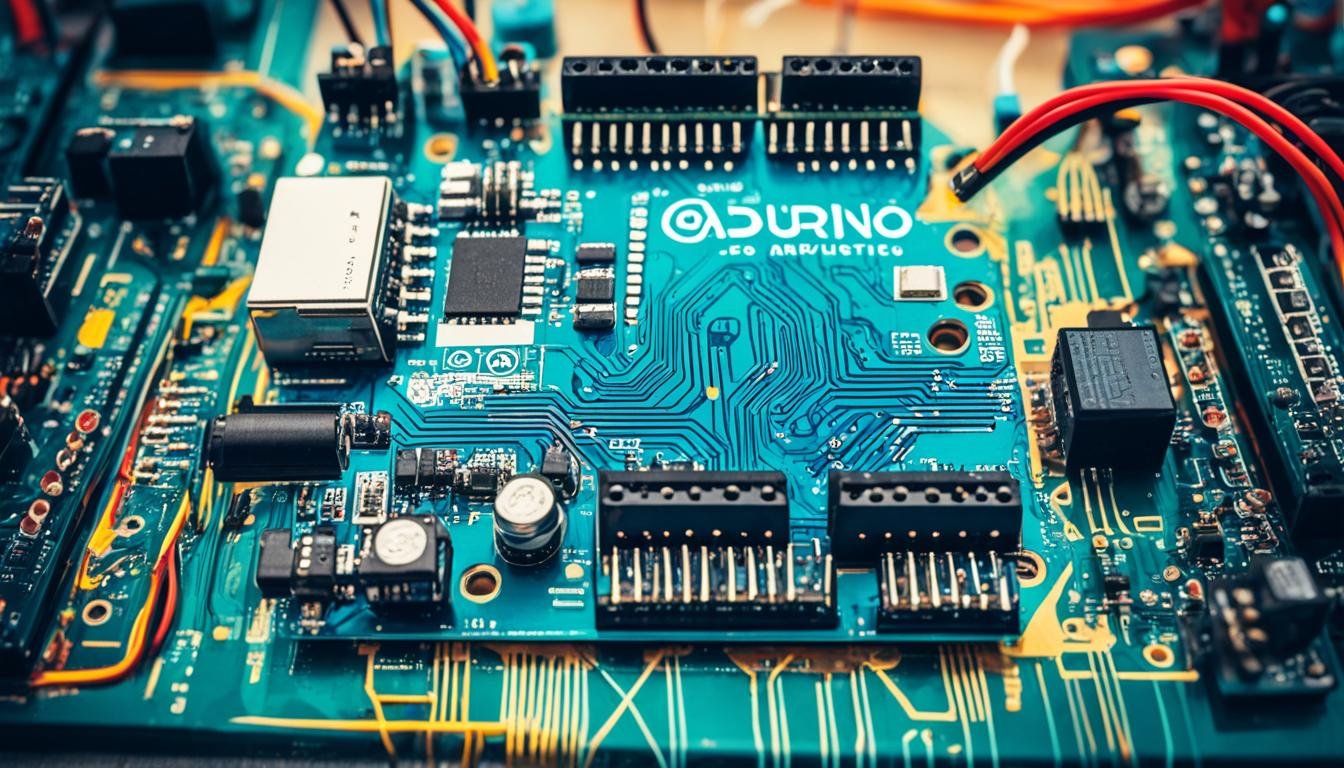
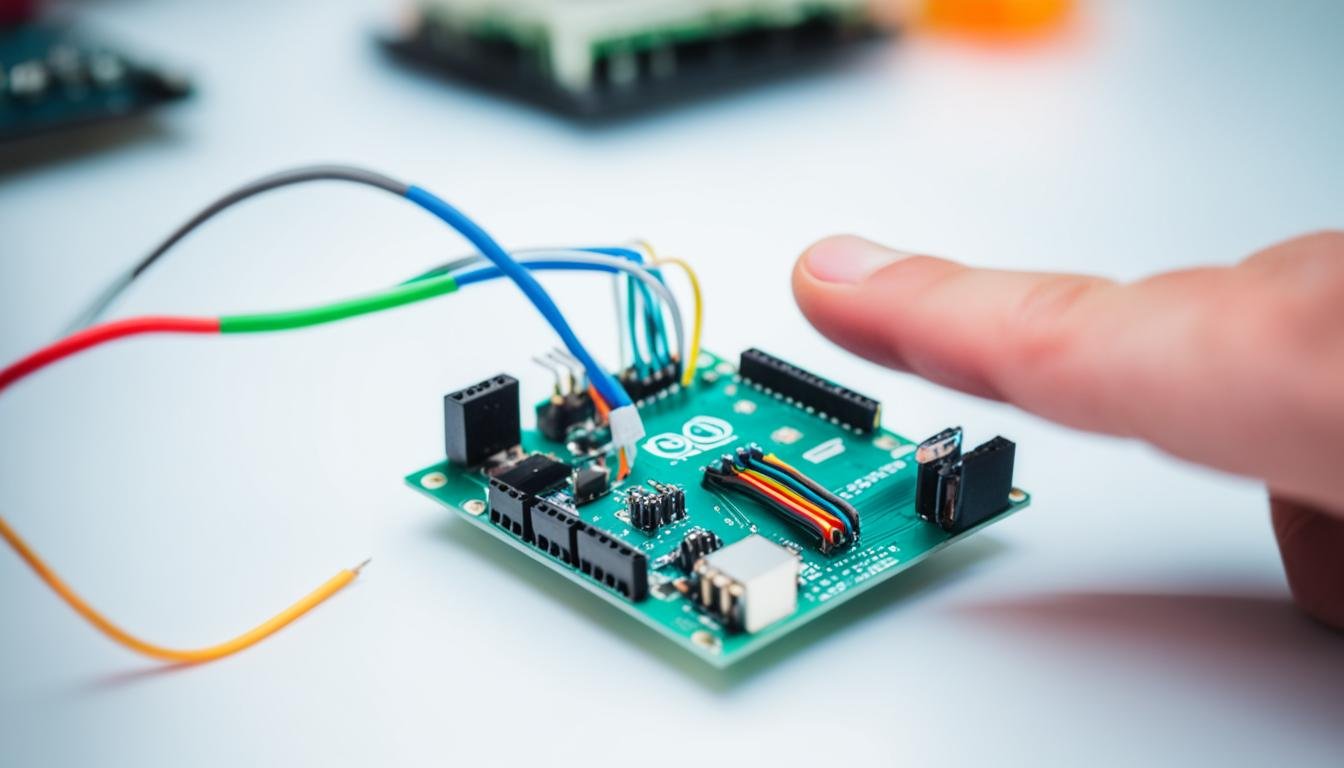
Every minute, countless innovations are being shaped. Did you know that Arduino, the open-source electronics platform, has powered over a million projects around the globe? From simple LED displays to sophisticated drones, Arduino is key in technology and education. If you want to learn Arduino programming, this guide will help you start. It’s perfect for hobbyists, educators, or developers wanting to grow their skills.
Starting this journey means getting to know the Arduino Software (IDE). It connects your ideas with the real world. Arduino offers cloud and offline options for easy access and uninterrupted work. This makes learning and creating smooth, thanks to many Arduino tutorials. All resources, including the Getting Started guide, follow a Creative Commons license. This means all code is free for everyone to use.
Key Takeaways
- Arduino’s vast project base confirms its status as a cornerstone in both education and technology.
- With options for cloud-based or offline IDEs, Arduino ensures that users can learn and develop projects from anywhere.
- The open-source nature of Arduino’s software encourages a collaborative and expansive learning experience.
- Real-world applications of Arduino programming are as diverse as the community that contributes to it.
- All Arduino programming resources are accessible under free licenses, promoting widespread knowledge sharing.
- Newcomers can rapidly gain skills with a platform designed for ease of use across diverse Arduino tutorials.
Understanding the Arduino Platform
Exploring electronics and programming is exciting, especially with Arduino. It makes learning easier with its full system of hardware and software. This helps with creativity in many projects.
What is Arduino?
Arduino is known for its easy-to-use boards. They are great for beginners and still strong for experts. It helps everyone, from those starting with electronics to those working on complex projects. The Arduino programming language makes it easy to start programming.
The Open Source Philosophy of Arduino
Arduino’s success comes from its open-source approach. This means users can change and share their work freely. It helps with innovation and teamwork in the community.
Arduino in Education and Innovation
Arduino is great for learning because it’s easy to use and understand. Schools all over the world use it to teach STEM subjects. It helps students get hands-on experience.
Arduino also leads to new ideas, not just in schools but also in technology. It’s used in everything from simple gadgets to complex scientific tools.
Setting Up the Arduino Software (IDE)
To start with Arduino, setting up the right Integrated Development Environment (IDE) is key. It sets the stage for all your projects by offering the tools and resources you need. You can choose between the original desktop Arduino IDE or its online version. Each has its own setup process and features for different users.
Choosing the Right Arduino IDE
Choosing the right IDE is crucial for using Arduino code examples in your projects. The desktop Arduino IDE is great for big projects because it works offline and has a lot of library support. On the other hand, the online Arduino IDE is perfect for easy access and working with others, especially in school or on team projects.
Installation Steps for Different Operating Systems
Installing the Arduino IDE is easy on different operating systems, making setup smooth. Here’s how to install it on various platforms:
| Operating System | Installation Steps | Additional Notes |
|---|---|---|
| Windows | Download the installer, run it, and follow prompts. | Ensure drivers are installed if prompted. |
| Mac OS | Mount the downloaded image, drag the Arduino application into the Applications folder. | Check security settings to allow apps downloaded from identified developers. |
| Linux | Extract the package and run the install script. | May require setting permissions to access the serial port. |
By following these steps, you make sure the Arduino IDE is set up right. This opens the door to a smooth development experience with lots of Arduino code examples ready for you.
Programming Arduino, Arduino Code Examples, Arduino IDE Guide, Arduino Basics
After setting up the Arduino IDE, starting to program Arduino is thrilling for both new and seasoned coders. It’s key to get good at using Arduino code examples to learn the basics and move on to harder projects.
Arduino is great for coding in many ways, making it perfect for a variety of projects. It’s ideal for creating simple automation or complex electronic devices. Knowing how to program Arduino will help you succeed in your projects.
Learning to program Arduino is all about using Arduino sketches. These are programs written in Arduino language that form the basis of hardware programming. Starting with simple sketches is a good way for beginners to build their skills.
Here are some tips for starting with Arduino sketches:
- Start with easy code examples, like making an LED blink or reading sensor data, to get the hang of the syntax and functions.
- Move on to harder tasks, such as controlling motors, working with mobile apps, or using WiFi for IoT projects.
- Always check and upload your sketches with the Arduino IDE to make sure they work well.
Programming Arduino gives you a chance to learn by doing, encouraging you to keep exploring and bringing your ideas to life. It combines hardware and software, making you better at both technical skills and creative thinking.
For anyone interested in electronics, programming Arduino opens up endless possibilities. It’s a key tool for learning and experimenting in today’s tech world.
Writing Your First Arduino Sketch
Starting with the Arduino programming language is exciting and insightful. Writing your first sketch is a key step. It introduces you to the basics of Arduino coding. This first program shows you how the Arduino programming environment works.
The Structure of Arduino Code
Arduino sketches have two main parts: setup() and loop(). These are vital for beginners. They help you control hardware with simple or complex codes.
Understanding Setup() and Loop() Functions
The setup() function sets up your inputs and outputs and gets things ready. It runs once when the device starts. Then, the loop() function takes over, doing the main tasks over and over. Here, you can make your Arduino board do what you want it to do.
Learning these functions lets you move on to more complex Arduino codes. The Arduino language is loved for its ease and power. It’s great for hobbyists, teachers, and professionals.
Arduino Project Hub: Exploring Advanced Tutorials
For those eager to explore Arduino, the Arduino Project Hub is a goldmine of advanced Arduino tutorials and arduino projects. It’s powered by hackster.io and offers detailed guides. Users can also share their projects, creating a community of innovators.
The hub has projects for all skill levels, but the advanced ones are perfect for experts. These projects test your skills and push the limits of Arduino. You can make a robotic arm, an IoT weather station, or add AI to your projects here.
| Project Type | Complexity | Common Components | Learning Outcome |
|---|---|---|---|
| Home Automation | High | Sensors, WiFi Modules | Networking IoT Devices |
| Wearable Tech | Medium | Conductive Thread, LEDs | Power Management |
| Autonomous Vehicles | High | Motors, GPS Modules | Robotics and AI Integration |
Going through these Arduino tutorials boosts your technical skills and problem-solving abilities. It’s essential for engineers and developers. By using the Arduino Project Hub, you improve your skills and share your knowledge. This enriches the Arduino community worldwide.
Selecting and Configuring Your Arduino Board
To start learning Arduino programming, you need to pick and set up the right Arduino board. This means knowing the specs of different boards and how to use the Arduino Integrated Development Environment (IDE). Let’s explore how to do this well.
Finding and Installing Board Cores
First, find and install the right board cores for your setup. Board cores have the libraries and toolchains needed for each Arduino board type. This makes sure the Arduino IDE can send your code to the board correctly.
Drivers and Port Selection
After setting up the board cores, install the drivers for your board next. Drivers help your computer talk to the Arduino board. Once drivers are in place, pick the right serial port in the Arduino IDE to connect to your board. This choice depends on your OS and the Arduino board you’re using.
Here’s a step-by-step guide to set up your Arduino board:
- Connect your Arduino board to the computer via USB.
- Open the Arduino IDE and navigate to the ‘Tools’ menu.
- Select ‘Board: “Arduino Uno”‘ (or your specific model).
- Choose the processor if applicable (for boards like Arduino Nano).
- Go to ‘Port’ and select the COM port that your board is connected to.
This setup makes your Arduino board ready for programming. Now, you can start your Arduino programming journey.
| Task | Action | Description |
|---|---|---|
| Install Board Cores | Use Boards Manager in IDE | Install libraries and toolchains specific to board types. |
| Install Drivers | Follow OS-specific guidelines | Ensure communication setup between board and computer. |
| Select Serial Port | Choose in Arduino IDE | Select the correct COM port for the board connection. |
Connecting and Testing Your Arduino Board
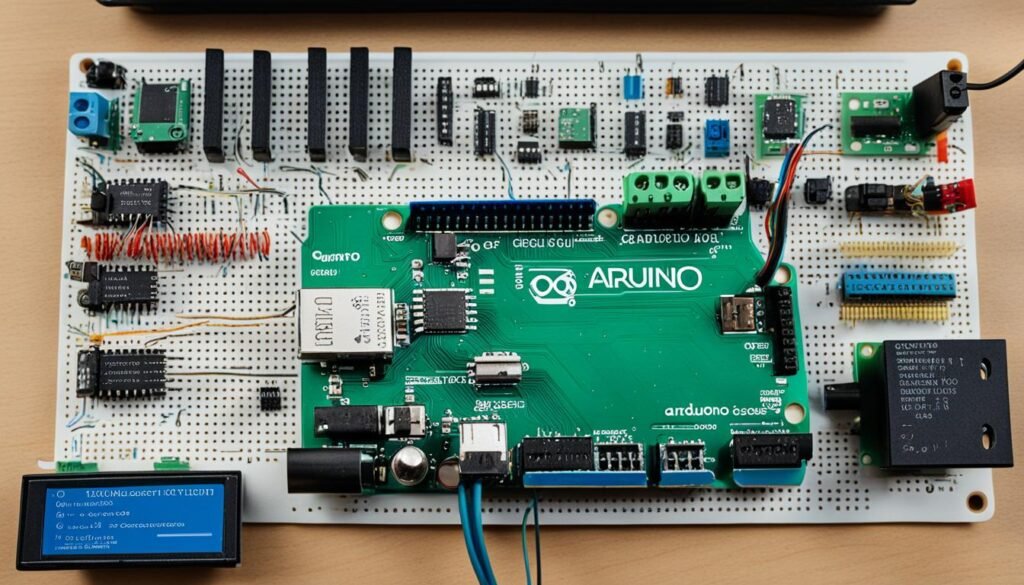
To start with Arduino programming, it’s crucial to connect your board correctly. The Arduino IDE guide helps with this. It suggests uploading a simple test sketch to check if the board works.
Verifying Board Connection
First, make sure your Arduino board is physically and software-wise connected. It’s important that your computer sees the Arduino board through the Arduino IDE.
Uploading and Running the Blink Example
The Blink example is a great test for your Arduino. It makes the on-board LED blink, showing your board is ready. Here’s how to upload the Blink sketch:
- Select the correct board type under the Tools menu.
- Choose the right COM port for your Arduino.
- Open the Blink sketch from the examples section.
- Click the upload button and see if the LED blinks after uploading.
| Action | Expected Outcome | Troubleshooting Tip |
|---|---|---|
| Select Board | Board name highlighted in Arduino IDE | Ensure board drivers are installed |
| Select COM Port | Port active with connected board name | Reconnect the Arduino USB cable |
| Upload Blink | LED starts blinking | Check for errors in the Arduino IDE console |
By following these steps and checking each action, beginners can easily start with Arduino programming. This ensures their setup is ready for more complex projects later.
Arduino Sketches: Tips and Tricks
Mastering programming Arduino is more than just writing code. It’s about using strategies that make your development process smoother and improve your project’s performance. Here are some essential tips and tricks to improve your Arduino coding skills.
- Utilize the Built-in Examples: The Arduino IDE comes with many examples that are great for both beginners and experts. These examples help you understand how different applications work. They also serve as a starting point for more complex projects.
- Read and Understand Error Messages: Debugging is key to successful programming. Always pay attention to the error messages in the Arduino IDE’s status bar. They can help you find and fix syntax or logical errors quickly.
- Adhere to Best Practices: Good coding practices like consistent indentation and lots of comments make your sketches easier to read and maintain. This is especially helpful when your projects get bigger and more complex.
- Keep Sketches Organized: As projects grow, it’s important to keep your code organized. Use functions to avoid repeating yourself, and variables to make changes easier and your code cleaner.

| Tip | Description |
|---|---|
| Modularization | Break down your code into reusable modules or functions which can be easily tested and debugged independently. |
| Parameter Tuning | Experiment with parameters to fine-tune your sketches for optimal performance and efficiency. |
| Version Control | Use version control systems to keep track of changes and revert back to previous states if necessary. |
| Community Engagement | Engage with other Arduino enthusiasts to exchange ideas, find inspiration, and troubleshoot together. |
By using these tips for programming Arduino, you’ll improve the quality and functionality of your projects. You’ll also boost your skills as a developer. These strategies help create an environment where creativity and functionality come together. This leads to successful Arduino code examples.
Create and Share with Arduino Starter Kits and Projects
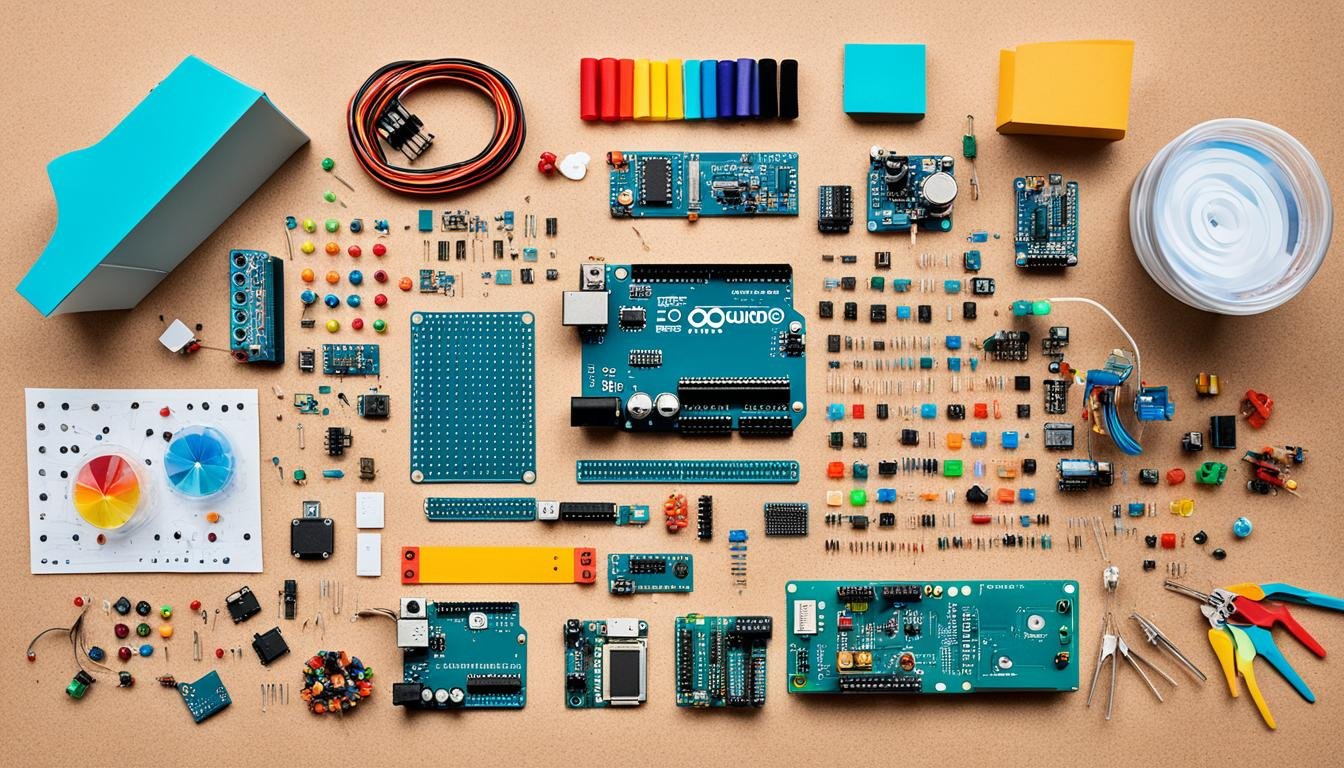
Starting with Arduino projects is both fun and educational. An Arduino starter kit is a great way for teachers and students to begin. These kits have everything you need in one box. They let users explore many different projects.
By using Arduino starter kits, beginners learn important concepts easily. This helps them understand both the hardware and software of electronics.
The Arduino community loves to share projects and ideas. This sharing helps everyone learn and innovate together. It turns beginner mistakes into lessons for everyone, not just in class but worldwide.
Choosing the Right Starter Kit for Beginners
Choosing the right Arduino starter kit is key for beginners. The best kit has sensors, LEDs, and cables for all kinds of Arduino projects. It also often comes with a guidebook or online tutorials, which are super helpful for newbies.
Recommendations for Arduino Kits for Kids
Kits for kids make learning fun and keep them interested. They have colorful parts and make projects like robots or musical instruments. This makes learning fun and keeps kids excited about STEM.
Conclusion
Starting to learn Arduino programming is more than just picking up a new skill. It’s stepping into a world where creativity and innovation thrive. This platform welcomes everyone, from beginners to experts, promoting teamwork and new ideas. We’ve seen how it all starts with understanding the Arduino basics, like its history and how it helps in education and making products.
Setting up the Arduino Software (IDE) is crucial for a great programming experience. It makes sure you’re ready to start creating. Writing your first Arduino sketch is where ideas come to life. This is where learning meets doing, and you see your projects come to life.
There are many Arduino tutorials to help you at every step of your project. The Arduino Project Hub shows how complex and creative you can be with this platform. It’s a place where you can see the power of Arduino in action.
As you move from simple projects to more complex ones, you grow in skills and creativity. Starter kits and various projects make learning electronics easier and fun. Mastering Arduino opens a world where learning, playing, and inventing blend together. This journey is rewarding, whether you’re doing it for work, school, or just for fun. You’ll find endless opportunities in the world of electronics programming.
FAQ
What is Arduino and what can it be used for?
How do I choose between the online Arduino IDE and the desktop version?
Are there any specific installation steps for the Arduino Software (IDE) on different operating systems?
What is the basic structure of an Arduino program (sketch)?
How can I explore and learn from different Arduino projects?
What steps are involved in configuring my Arduino board?
How do I know if my Arduino board is working correctly?
Can you offer any tips for writing effective Arduino code?
What’s the best way for beginners to start learning Arduino programming?
Are there any specific Arduino kits recommended for children or educational purposes?
Source Links
- Getting Started with Arduino products – https://www.arduino.cc/en/Guide
- Arduino Programming for Kids: Fool Proof Beginners Guide – https://www.create-learn.us/blog/arduino-programming-for-kids/
- Tutorials – https://www.arduino.cc/en/Tutorial/HomePage/
